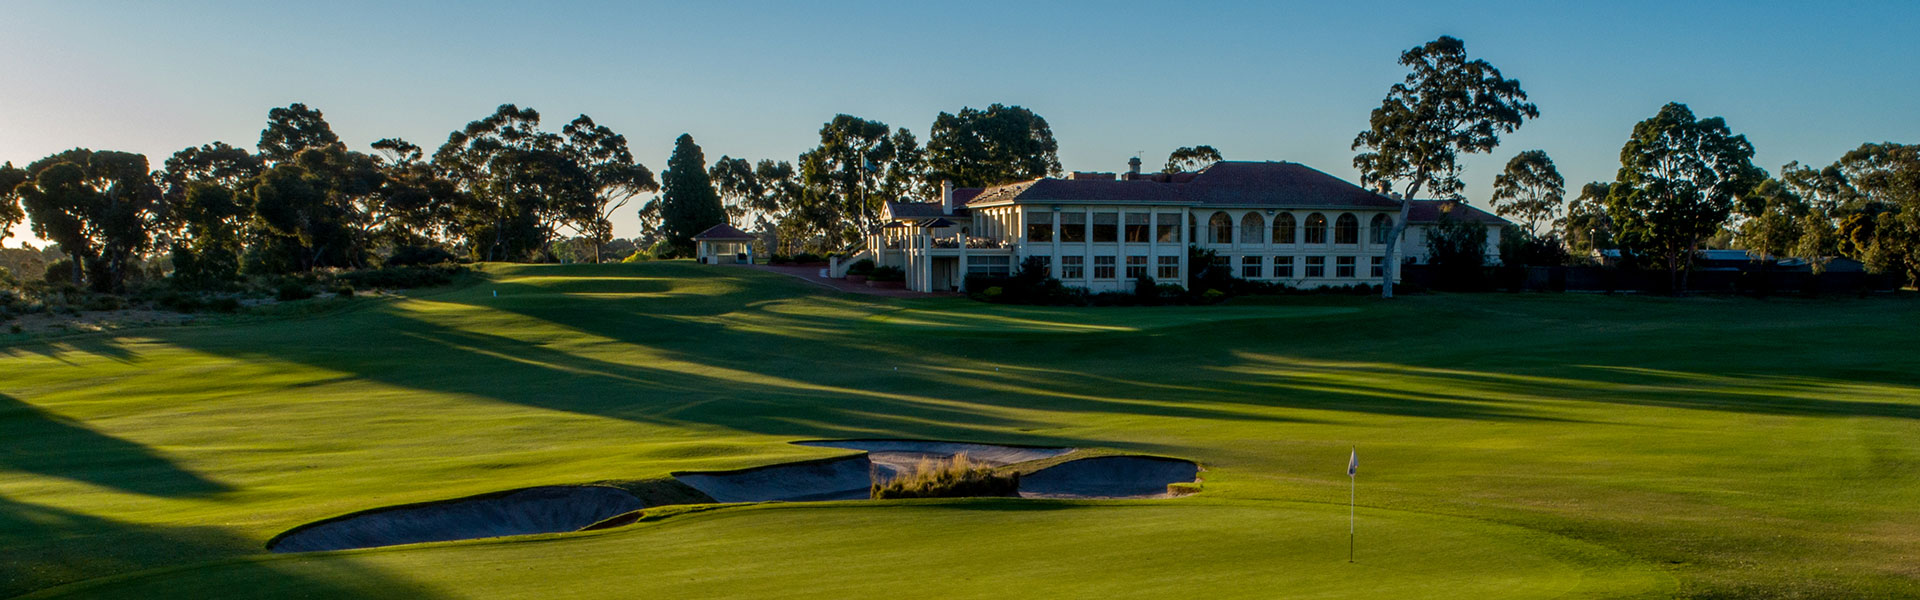
Hole 6

At 531 metres, this genuine three-shot par 5 is considered one of Melbourne’s best and hardest, particularly into a southerly wind.
A driver avoiding the right hand fairway bunker (226 -254 metres from the tee) will present the player with a three wood second shot which must be played to the right hand side of the fairway for a short iron pitch with the best angle of approach. The relatively narrow green slopes quite steeply from back to front and from left to right and can be difficult to hit and hold from the left hand side of the fairway. The steep slope of the green makes the greenside bunker on the left a “no go area” and a player who is short-sided in this bunker is presented with one of the more difficult shots on the course. Played from the right angle this hole can be another birdie opportunity but get out of position and it is easy to have a six or more.
Hole Statistics
First Hole Par 5 531 m
Second Hole Par 5 501 m